


How do I make a photo gallery from JPG images as a PDF file?
With JPG to PDF Pro it is easy to create PDF photo galleries. All you have to do is select the JPG images which you want in the gallery and drag them into JPG to PDF Pro. Alternatively you can also use the file or folder import either from the menu File-> Add File or File -> Add Folder or using the respective toolbar icons:
 |
 |
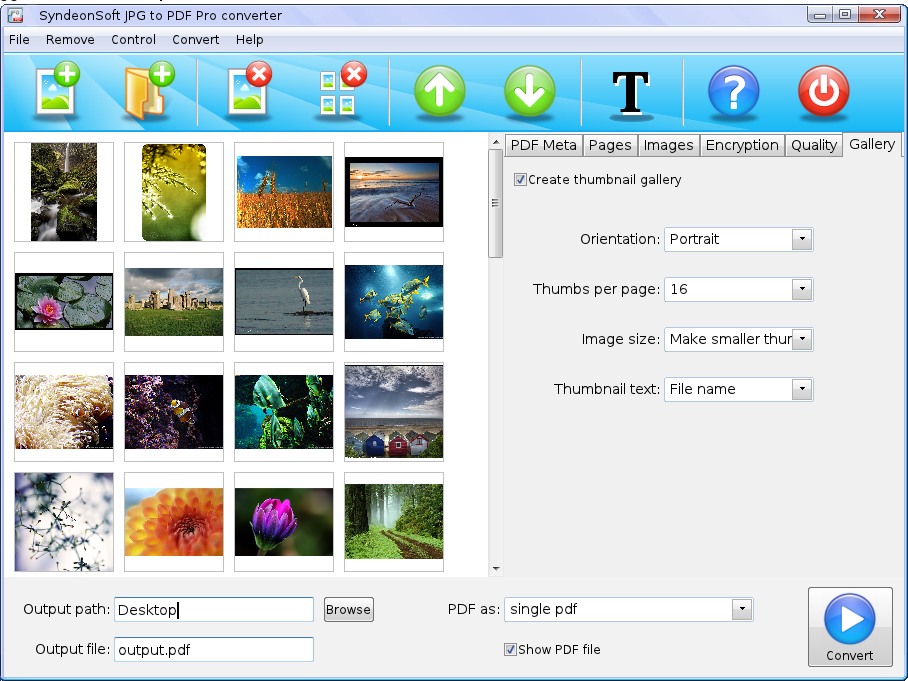

- Here you can select how the thumbnail gallery will be printed. Select the orientation to print the PDF pages either in portrait or in landscape mode.
- Then select how many thumbnails you want to have printed per page. You can choose up to 25 thumbnails per page.
- Next you can select if JPG to PDF Pro should resize the images so as to use less space. If you use many thumbnails per page you should use the option “Make smaller thumbnails”. If you print only 2 or 4 thumbnails you might want to keep the original size instead in order not to loose any graphical details.
- Finally you can choose if the file name should be printed under the thumbnail image or not.
Choose the name of the output file and its location:


The generated thumbnail gallery from JPG images will be created as a PDF file in just a few seconds.
Have fun exploring the many possibilites JPG to PDF offers in creating thumbnail galleries from JPG and other image formats.
Tags: convert JPG to PDF gallery, thumbnail gallery, Tutorial